How to Stop Grill Flare-Ups for Good
Flare-ups are caused by fat dripping onto hot surfaces and igniting. Small flare-ups add flavor. Large, sustained flare-ups char food, create carcinogens, and can be dangerous. Here's how to control and prevent them — without sacrificing the grilled flavor that comes from fat hitting heat.

Last Updated
Tools & Materials
- Grill brush
- Spray bottle with water
- Aluminum foil drip pan
- Paper towels
Step by Step
Clean the grease management system
Most flare-ups are caused by grease buildup, not the current cook. Remove the drip tray and clean it. Scrape the grease channels that direct drippings to the tray. On Weber grills, clean the area below the Flavorizer bars. A clean grill has far fewer flare-ups because there's less accumulated fuel.
Trim excess fat before grilling
Leave 1/4 inch of fat on steaks for flavor — trim anything beyond that. Remove loose fat flaps on chicken thighs. Score the fat cap on pork chops so it renders instead of dripping. Less fat dripping = fewer flare-ups. Don't go fat-free though — some dripping fat creates the smoke and flavor you want.
Use two-zone cooking
Set up a hot zone and a safe zone (burners off or no coals). When flare-ups occur, move food to the safe zone until flames subside. This is the most effective real-time flare-up management technique. Every grill should always have a cool zone available.
Keep the lid open for fatty foods
Counterintuitive but effective: cooking high-fat items (burgers, sausages, skin-on chicken) with the lid open allows grease smoke to dissipate instead of circulating and igniting. Close the lid for lean items and when you need indirect heat.
Use a drip pan for indirect cooking
Place an aluminum foil drip pan under food on the indirect side. This catches drippings before they hit the heat source. Essential for long cooks with fatty cuts like chicken with skin or pork shoulder.
Spray strategically (not constantly)
Keep a spray bottle of water nearby for flare-ups that need immediate attention. A quick spritz knocks down flames without significantly cooling the grill. Don't douse — heavy spraying creates steam burns, cools the grill, and blows ash onto food (on charcoal grills).
Warnings
- Never leave a grill unattended with fatty foods cooking — flare-ups can escalate to grease fires in seconds.
- If a grease fire gets out of control, close the lid and all vents to starve it of oxygen. Never spray water on a grease fire — it spreads the burning grease.
- Flare-ups on a dirty grill burn old grease and create acrid, bitter-tasting smoke. Keep your grill clean.
How Often?
Practice flare-up prevention every cook. Deep clean the grease management system monthly during grilling season. Trim fat before every cook as a habit.
Tools & Products You'll Need
Aluminum Drip Pans 10-Pack $10
Catch drippings and prevent grease fires
Grillart Bristle-Free Brush $16
Keep grates clean to reduce flare-ups
Common Questions
Frequently Asked Questions
How long does it take to stop grill flare-ups for good?
What tools do I need?
How often should I do this?
What safety issues should I watch for?
Keep Reading
You might also like
How to Grill Fish Without It Sticking
The 7 rules that turn fish from a grill-grate disaster into a restaurant-quality presentation.
ReadHow to Fix Hot Spots and Uneven Heat on a Gas Grill
Map your grill's hot spots with the bread test, then fix the causes — clogged ports, warped heat plates, and blocked venturi tubes.
Read
Pellet Grill vs. Gas Grill
Pellet grill vs gas grill, settled: flavor, speed, running cost, versatility, and the honest answer to which one belongs on your patio first.
ReadWeber Kettle vs. Weber Smokey Mountain
Both are Weber legends. One is a versatile grill that can smoke; the other is a dedicated smoker that can't grill. Here's which one belongs in your backyard.
Read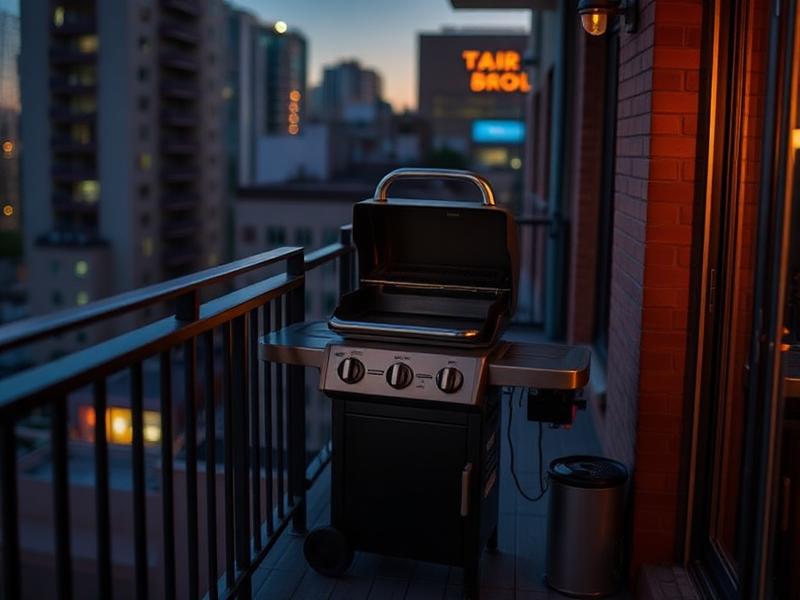
Char-Broil Patio Bistro Electric
TRU-Infrared heating means no flare-ups and surprisingly even heat. Perfect for condo balconies.
Read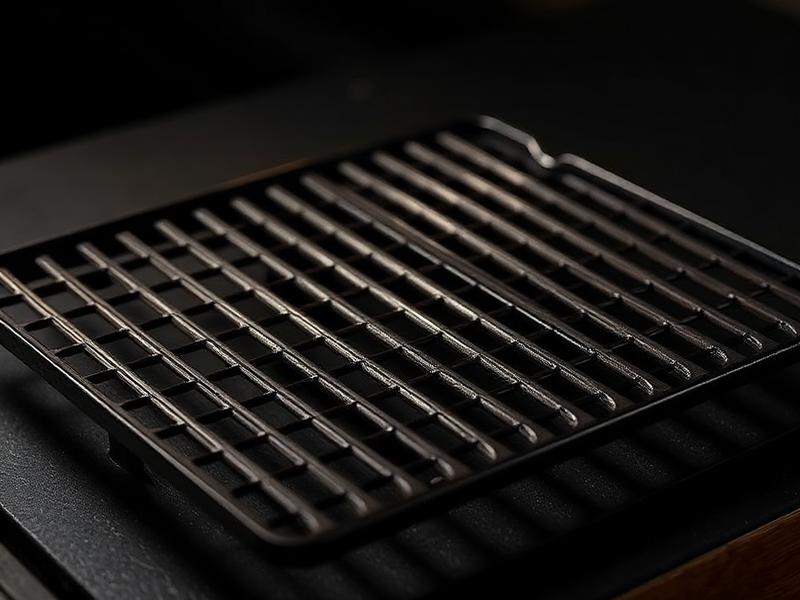
GrillGrate Sear Station Set
Hard-anodized aluminum grates that amplify heat and eliminate flare-ups. Restaurant-quality sear marks.
Read